Slightly later than promised, here is the first part of my adventures in building the Makerbot! I meant to post this before I went away to the states, but had too much work on.
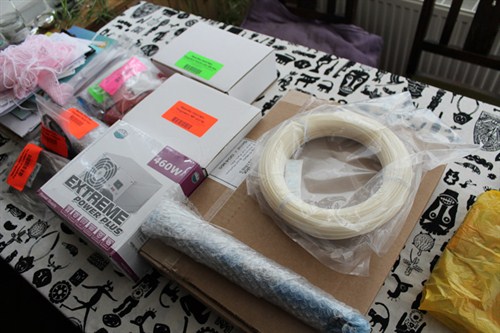
Having bought in a decent desk mounted vice, a new soldering iron and a decent multimeter, I was locked cocked, and ready to rock. Sadly, I couldn't get Pete or Matt over, so I was instead assisted by my trusty feline companion, Suki:
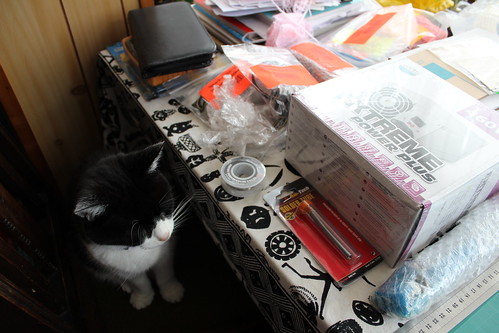
To be fair, she didn't do much apart from Purr and try and sit on me when I was doing fiddly stuff, but she did sit there the whole time, so all good.
Having sat down and read through the extensive Makerbot Wiki I have to say I was pretty daunted, its easily the most complicated project I've ever undertaken. First up I had to install all the drivers/software on my laptop, and check that the Arduino board was working. That turned out to be really straightforward, it was just a case of installing some software, and plugging in the board via USB to install the drivers.
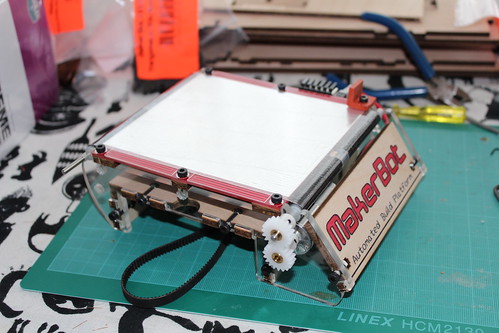
Next up I started assembling the parts I needed for the X stage of the printer (the actual print surface). There were three options, the first, a simple wooden platform, the second a simple heated platform, and the last was the all singing, all dancing Automated Build Platform, with is heated, AND has a conveyor belt for ejecting printed objects. Not wanting to pussy out, I went for the third option. Popping out all the wooden parts was pretty simple, although cleaning the burnt residue from the edges of all the parts was pretty time consuming.
Assembling the wooden frame parts is really straightforward, thanks to the clever T-Nut construction. You do it all with allen keys. Its like a really, really geeky Ikea kit :P First part of soldering was attaching wires to the motor for the converyor belt, and that was pretty straightforward too. Building the rollers for the platform proved to be slightly more tricky. If you don't get your measurements exactly right, they end up out of alignment, which is what happened to me, so I had to do some trimming and adding to the rollers until they fit correctly.
Eventually, after several hours, I ended up with something that vaguely resembled an Automated Build Platform:
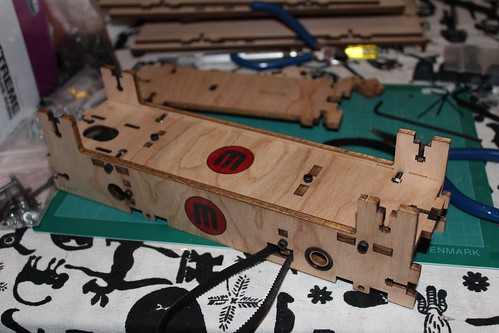
Feeling bouyed by my success, I decided to make a start on the Y assembly, which proved to be even simpler than the X stage to build. Eventually I got most of the way there:
Sadly I ran into an issue with the pulleys. It turned out they didn't fit! The instructions said they might need sanding, but it turned out they were totally the wrong size:
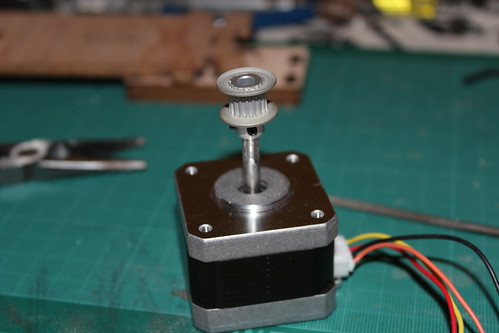
A quick email to Makerbot support later, and it transpired that the motors had been upgraded in a recent kit upgrade, but I still had the older pulleys. They sent me out replacements, first class, the same day! Most impressed. That did however mean that I had to call it a day at that point.
You can view the full photo set on my Flikr page, here. More to come soon, once I've uploaded all of the pictures!